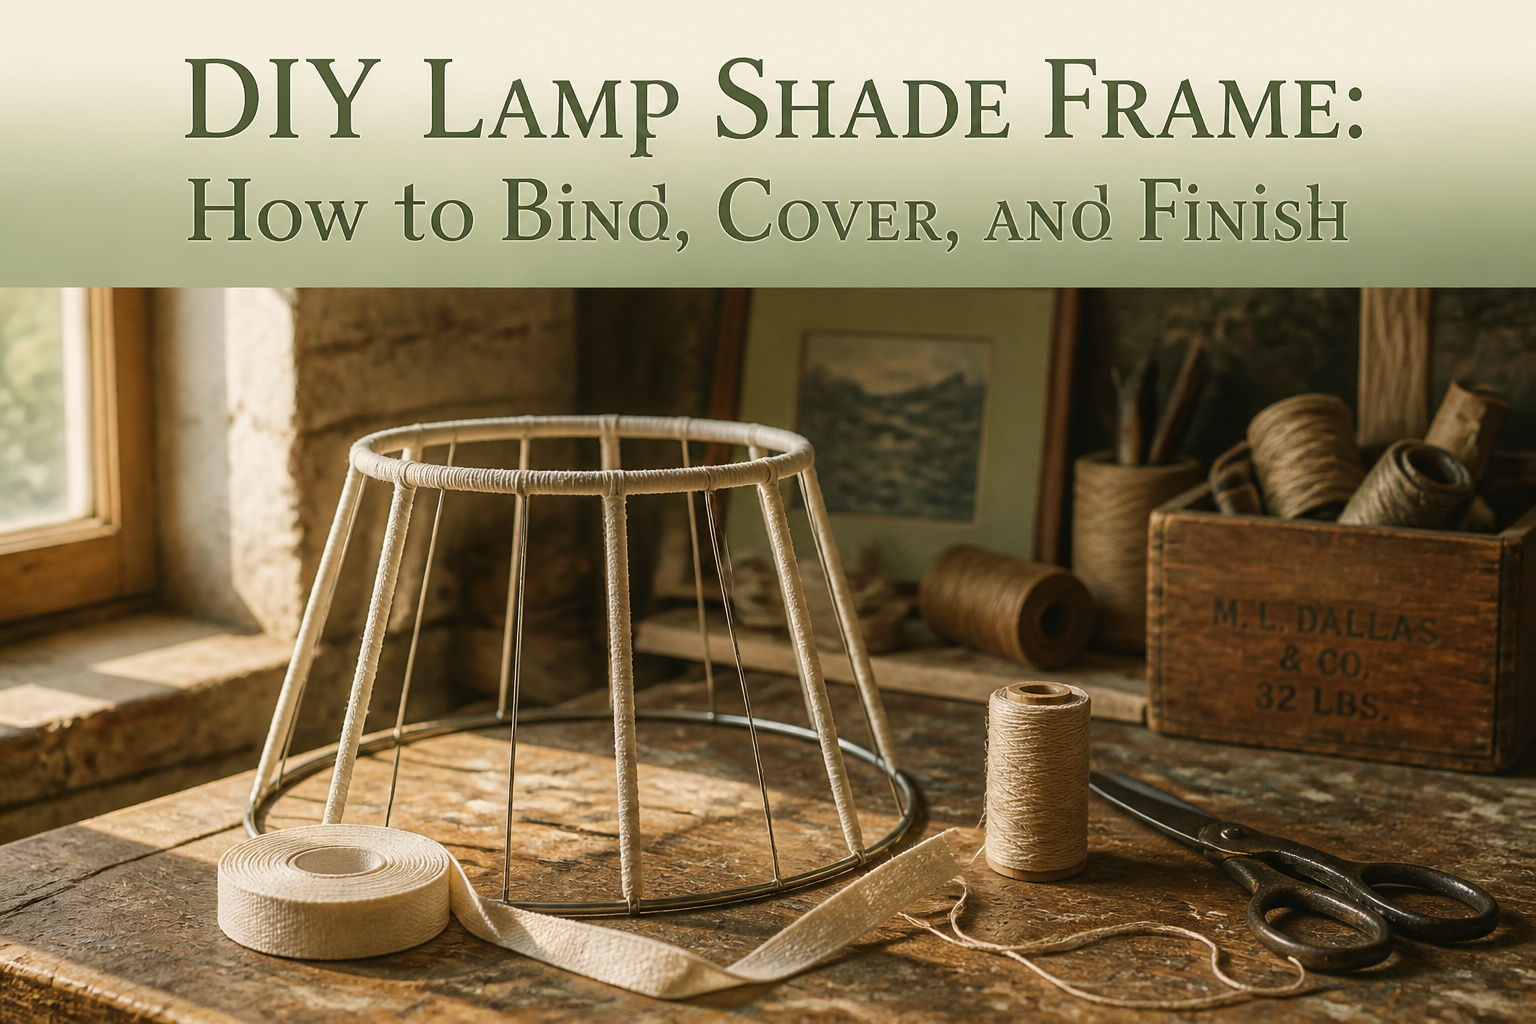
A diy lamp shade frame is a wire skeleton that fabric wraps around, and the result only looks finished if the binding underneath is smooth enough to disappear. The catch is that cheap wire kinks instead of bending clean, and a lopsided frame never sits right on the base. You will need cotton tape, extra-strong thread, and the patience to wrap diagonally so each pass covers half the last, because any gap telegraphs straight through to the finished shade.
Gather Materials
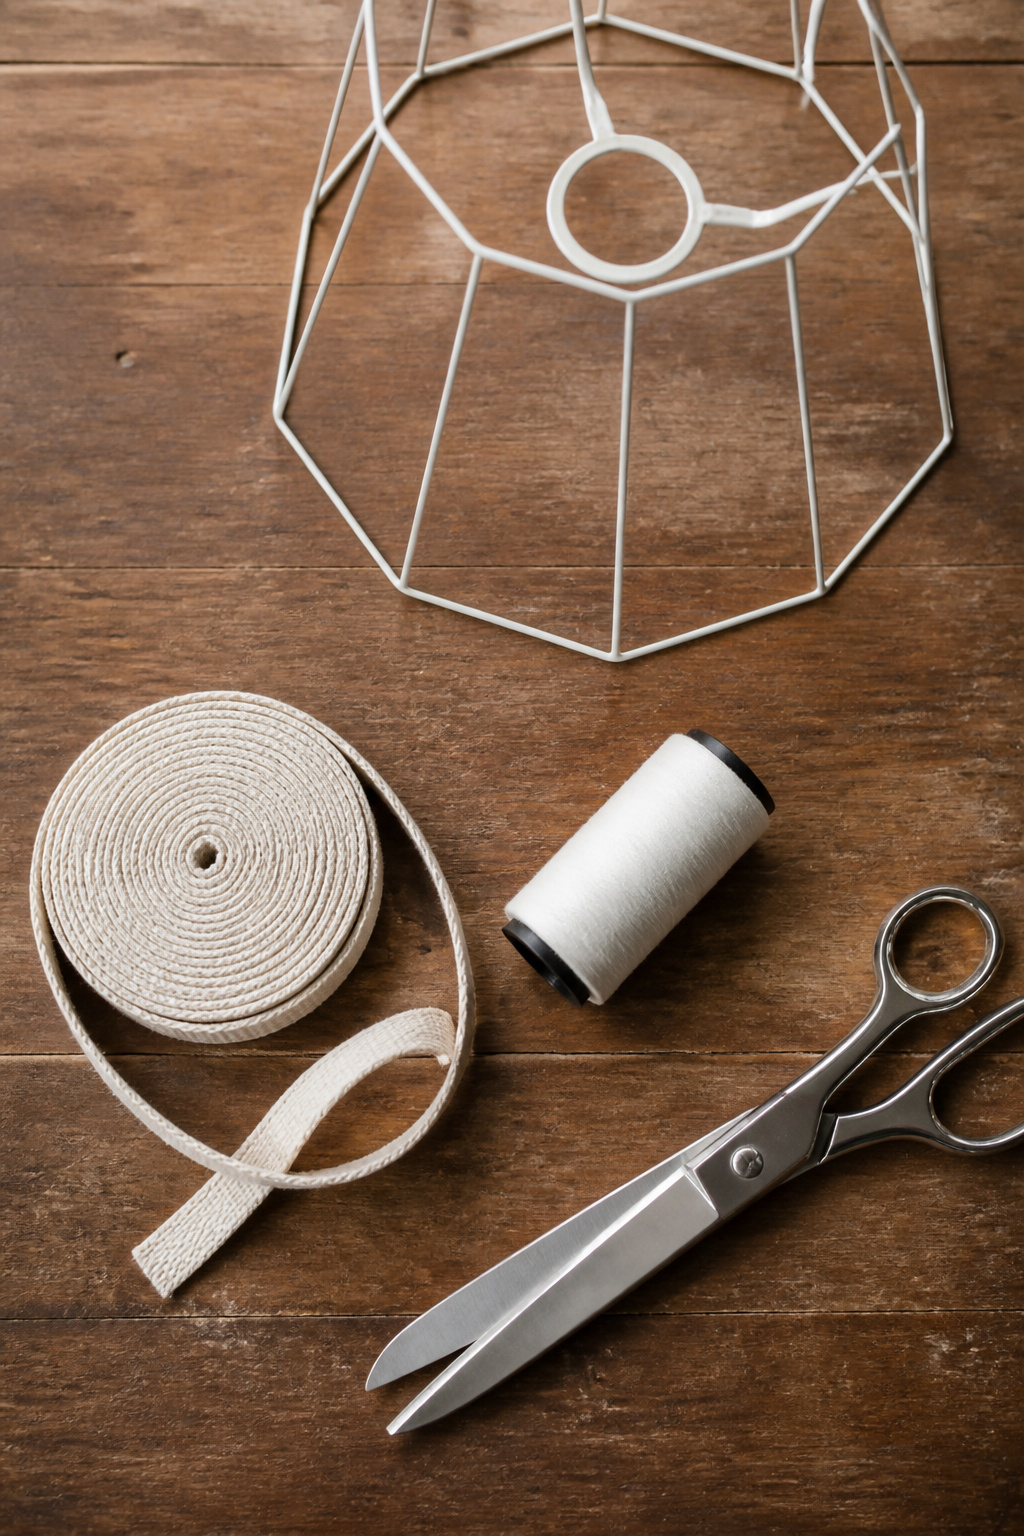
Cotton tape runs the whole job, and the width you pick depends on the frame size. 12mm cotton tape handles small to medium shades, while 20mm tape covers more surface on larger frames without adding bulk. Lamp shade wire forms the skeleton, and skipping the good stuff here costs you later: cheap wire kinks instead of bending clean, and a lopsided frame never sits right on the base.
A sharp needle and extra-strong cotton or upholstery weight thread do the actual binding. Regular thread frays where the tape pulls tight, and you will notice the slack after a week of lamp heat. Dressmaking scissors cut the tape clean, embroidery scissors help in tight corners, and Mini Wonder Clips act as the extra hand you wish you had. They grip the wrapped frame while you thread the needle or plan the next wrap, which matters more than it sounds when the tape keeps wanting to unwind itself.
Recommended Products

E27 Bulb Fit: Designed for E27 bulbs, this lamp frame supports easy bulb replacement and works with standard bulb holders for a desk lamp or pendant light setup

Package includes 2 rings to create 1 lamp shade – 1 x top ring with US style spider fitter and 1 x bottom plain ring

What This Light-Duty Lamp Harp Does (and Does Not Do) – Designed for lightweight fabric, paper, or plastic lamp shades only. The 0.18-inch thin metal wire provides elegant, minimal support. – Not for heavy glass, metal, or very large shades (those require a heavy-duty harp). – Works well for table lamps, nightstand lamps, and DIY lamp makeovers.
Bind the Frame
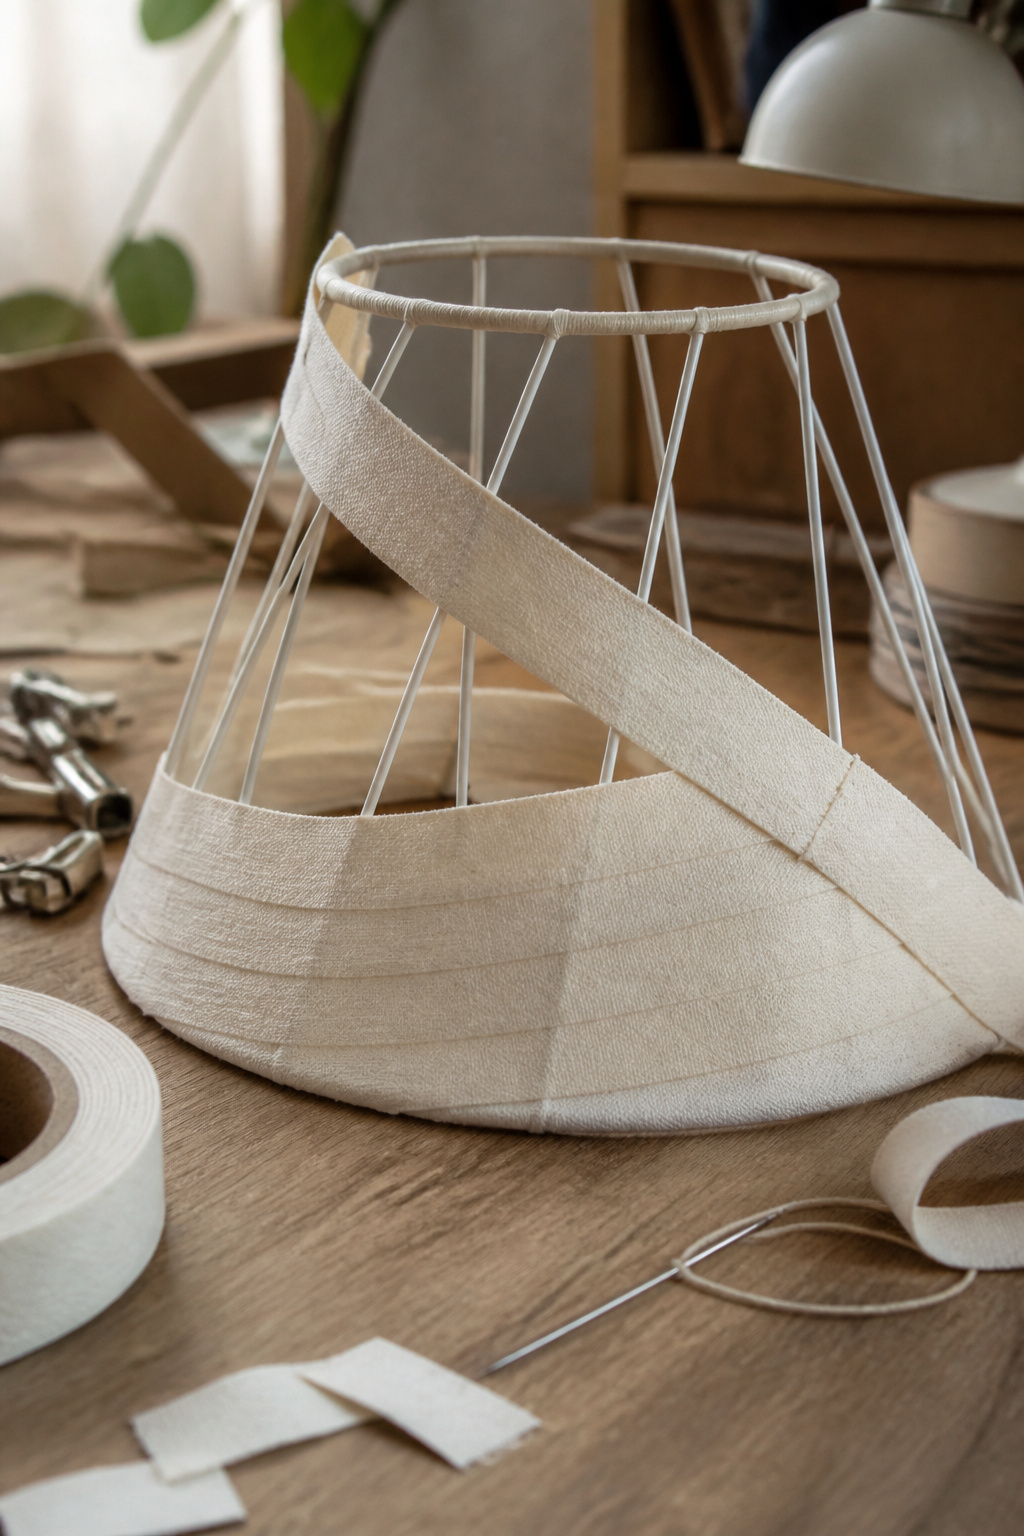
Cotton tape turns a bare wire frame into something fabric can grip. I start by measuring out three times the circumference of the top ring, wrapping one length around to check and multiplying from there. That extra length accounts for the overlap built into the process, not waste.
The tape goes on diagonally, each new wrap covering half of the one before it. Pull tight as you go; loose binding shifts under your fingers later and leaves ripples that telegraph straight through the finished shade. The goal is a surface so smooth and lump-free that the frame feels almost solid, with no bumps where struts meet rings. If you are reworking an old frame, strip any leftover glue or solvent first and touch up chips in the coating so they do not catch the tape. A needle threaded with extra-strong cotton or upholstery thread should be waiting nearby before you start, since stopping mid-wrap to hunt for one tends to loosen what you just laid down.
Recommended Products

Quantity and size: 1 package includes 1 roll of herringbone tape, which is 54.7 yards/ 50 m long and 0.5 inch/ 1.2 cm wide, thickness is 0.02 inch/ 0.7 mm, enough for meeting your various needs like making sewing crafts or applying it in other places

Core Functionality: This cloth lamp cover edging strip provides a practical solution for repairing or upgrading your lampshade edges, enhancing the durability and aesthetic of your home lighting fixtures

Distinctive fabric: our distinctive fabric adds of elegance to your table lamp, elevating your home decor
Create a Template
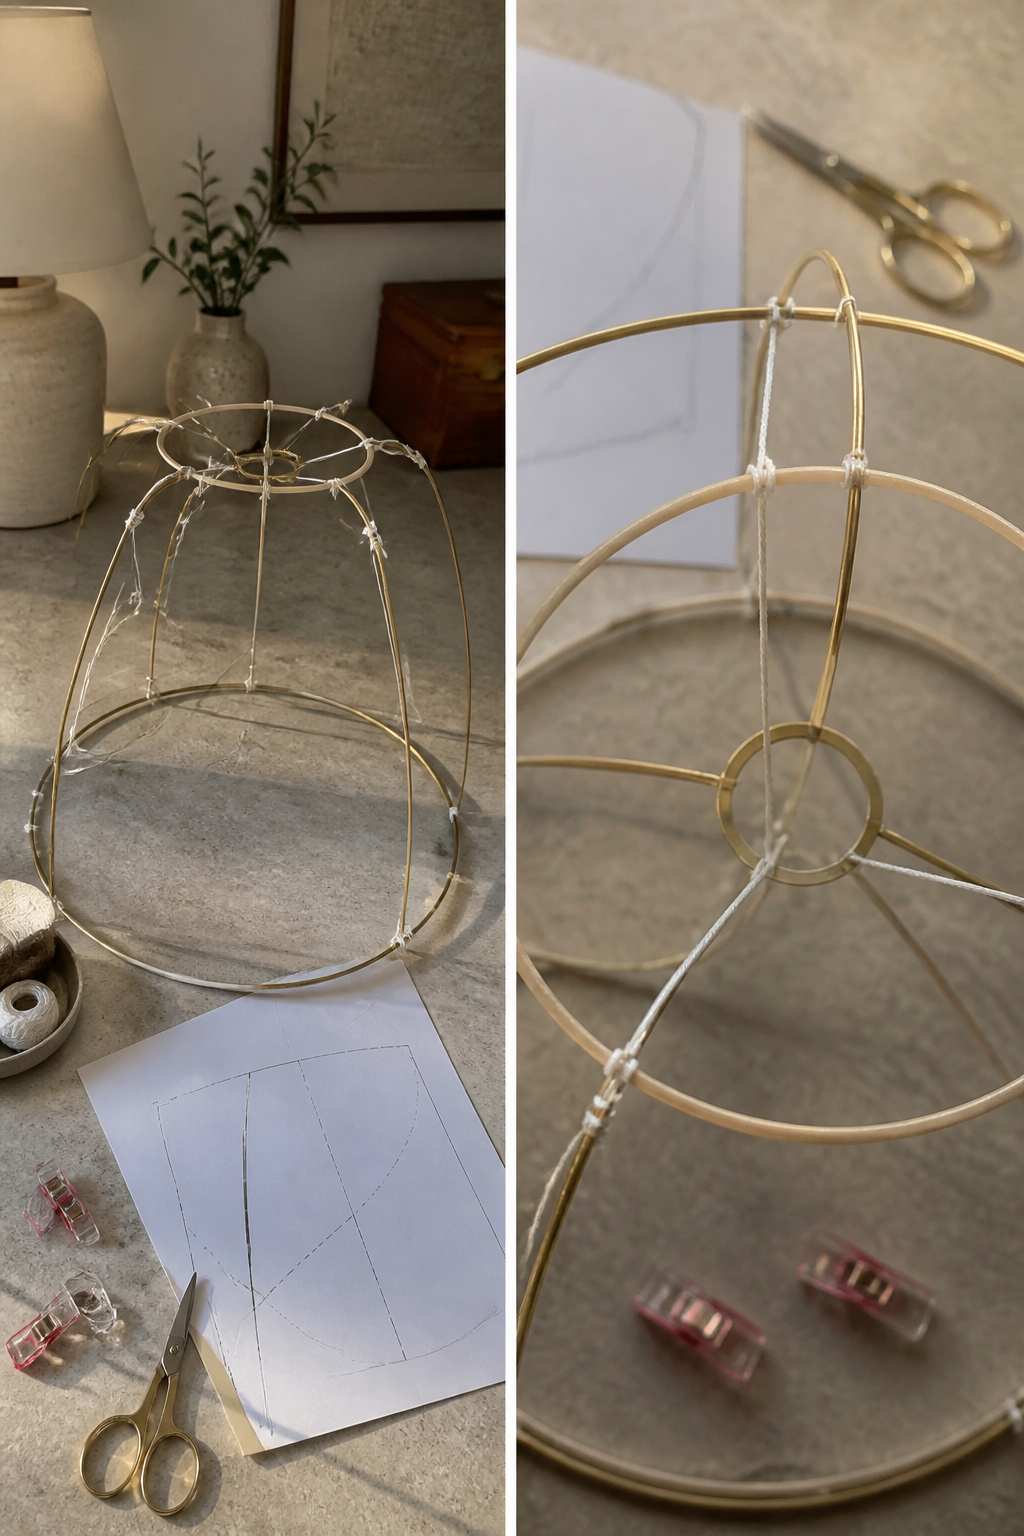
Temporary binding lets you lock in the shade’s shape before you commit any fabric to it. On a frame with eight struts, you bind only the struts needed to create the outer panel template, not the full frame. The binding holds just long enough to trace or cut your template pieces, then comes off clean once the fabric panels are sewn and ready to stretch over. Add these temporary struts after the top and bottom rings are already bound, so you can remove them without disturbing the frame’s core structure. The first time I tried this I bound everything at once and spent an hour picking thread off rings that should have stayed bare. The shape you trace from a temporarily bound panel is the shape that will actually fit the curve of your frame, which is why this step exists at all: flat geometry and a round frame do not agree without it.
Recommended Products
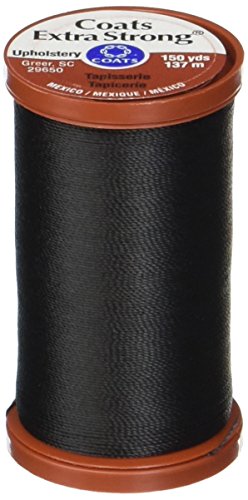
Upholstery Nylon is a heavyweight 100% nylon thread for machine and hand sewing indoor and outdoor heavyweight fabrics

Upholstery Nylon is a heavyweight 100% nylon thread for machine and hand sewing indoor and outdoor heavyweight fabrics

Upholstery Nylon is a heavyweight 100% nylon thread for machine and hand sewing indoor and outdoor heavyweight fabrics
Attach Fabric

The outer fabric is what the lamp actually looks like in the room, so this choice carries more weight than the frame or the binding ever will. A drum frame with its straight sides reads clean and modern in a plain linen or cotton, while a bell or empire shape softens the same material into something more traditional. I have seen people force a heavy upholstery velvet onto a narrow clip-top frame and the result always looks strained, like the shade is wearing a coat two sizes too small.
The lining matters just as much for the light that comes through. A white cotton lining diffuses evenly and keeps the color true; a cream or gold lining warms everything toward candlelight, which can be lovely or dated depending on the room. The frame style dictates how you attach. On a bound panel frame, you sew the outer fabric and lining together into flat panels that fit between the struts, then stitch through the binding at top and bottom. A wire-frame clip-top is different: you cut the fabric with enough overlap to fold around the wires, then hand-sew through the binding wraps to anchor it without puckering.
The top and bottom rings of any frame always need binding first, since that is where both layers attach. How many struts you bind between them depends on how many panels you want. A four-strut frame gives four fabric panels, which is standard for most drum shades. Six or eight struts create more seams but also more structure for sloped or curved shapes that would otherwise sag.
A fabric too stiff will fight the frame; too thin and the light shows every wire underneath. Test by holding your material up to a bulb before you cut. If you can trace the filament through it, line it or choose something heavier.
Recommended Products

Small Lampshade: 3" top x 6" bottom x 5" height. Whether you're looking to upgrade or replace your lampshade, these shades will add a touch of elegance and style to your fixture.

High-quality material:The lampshade adapter is made of high-quality metal,electroplated surface,rust-proof,not easy to break,durable,and brings you a good experience.

🌟 VERSATILE DESIGN: Convert washer-type lamp shades to clip onto regular-shaped bulbs with ease. No lamp harp required!
Finish Edges

The binding at the rings is where a handmade shade earns its keep or betrays itself. I learned this watching a shade I made last year, where the top ring had a slight gap between wraps that I figured no one would notice. Under a lit bulb, that gap cast a thin shadow stripe across the ceiling every single evening.
The tape should sit with half of each wrap covered by the next, spiraled diagonally so no frame metal shows through. Lumps are the real enemy here; a bump under your fabric becomes a permanent pucker you cannot press out. Press the tape flat with a fingernail as you go, especially where the ring curves, and check your work by trying to shift it with your fingers. If it slides at all, it is not tight enough.
For a temporary binding meant only to hold shape while you build a template panel, a tight knot suffices. You will remove it later, so skip the needle and thread. The finished binding, though, needs to be immovable. Stretching and pinning fabric to a foundation that gives under pressure is how you get the sagging and ripples that read as craft-project rather than craft.
Recommended Products

Fabric Material: The lampshade edge strip is made of fabric, with glue on the back, peel and stick

Wear protection: protects the edges of your lampshade from wear and tear, helping to maintain its appearance and functionality,furniture tape,shade cloth clips

Self-Adhesive Repair: Lamp shade tape with adhesive backing applies quickly without extra tools, making it practical for replacing worn edges, covering seams, and completing lamp shade repairs with less effort in DIY home projects
Final Assembly
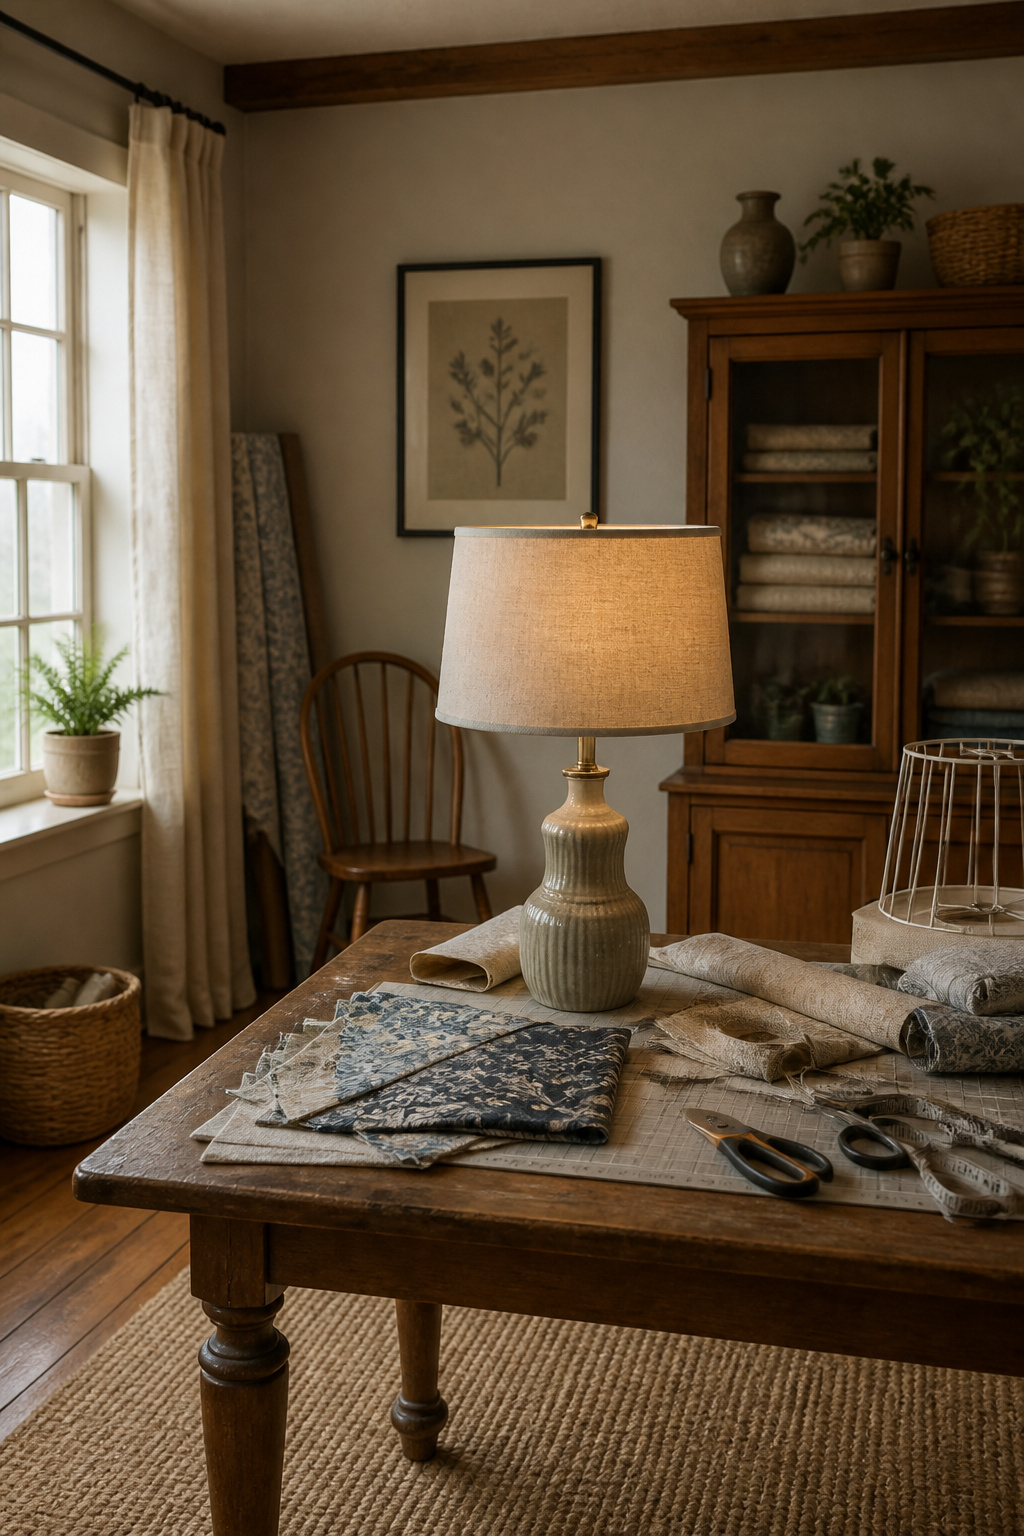
The last thing you want after binding and covering a frame is a shade that sits crooked or slips on the harp. Most tutorials stop at the fabric stage, so this is where a lot of DIY shades fail in actual use.
A standard harp and finial setup gives you two critical points of contact: the vertical arms of the harp, and the threaded rod that sticks up through the center. Your frame needs to sit flat on the harp’s horizontal saddle with no rocking, and the top ring must clear the finial post without rubbing.
Check the fit before you glue anything final. Set the bare frame on the lamp, then on a flat table. If it wobbles on either surface, the bottom wire ring is out of round. Fix that now with pliers, not later when fabric is in the way. The top ring should center itself naturally over the post. If it drifts to one side, your vertical ribs are uneven lengths or the ring itself is warped from binding tension.
Threaded finials need a washer or felt pad between metal and frame, otherwise turning the finial tight will chew the finish you just applied. Slip-fit finials are more forgiving but need a snug top ring hole; too loose and the shade tilts with any bump. I aim for a hole just large enough that the post passes through with slight resistance.
Once the fabric is on, weight changes. A heavy linen or layered trim can pull the frame oval over time. Test the covered shade on the lamp for a full day if you can, checking after a few hours whether the saddle still sits level. Small shifts now mean a loose finial or a rib that needs regluing before the shade goes into regular use.
Recommended Products

Material: Iron; Surface Treatment: Baking Finish; Color: White; Diameter: 18cm / 7"; Wire Diameter: 3.5mm / 0.14"; Inner Dia.: 4.2cm / 1.65"; Packing List: 3 x Lamp Shade Ring Frame

Lamp shade frames are commonly used for DIY lampshades. You can attach your favorite fabric or colored paper to the ring and then fix it to various lamps, such as table lamps, floor lamps, bedside lamp, and pendant lamps, to create unique lamps according to your preferences. These lampshade rings are perfect for bedrooms, offices, and living rooms. The simple round design effectively supports the lampshade material and complements different home decor styles.

What This Light-Duty Lamp Harp Does (and Does Not Do) – Designed for lightweight fabric, paper, or plastic spider lamp shades only. The 0.18-inch thin metal wire provides elegant, minimal support. – Not for heavy glass, metal, or very large shades (those require a heavy-duty harp). – Works well for table lamps, nightstand lamps, and DIY lamp makeovers, etc.
Frame Types
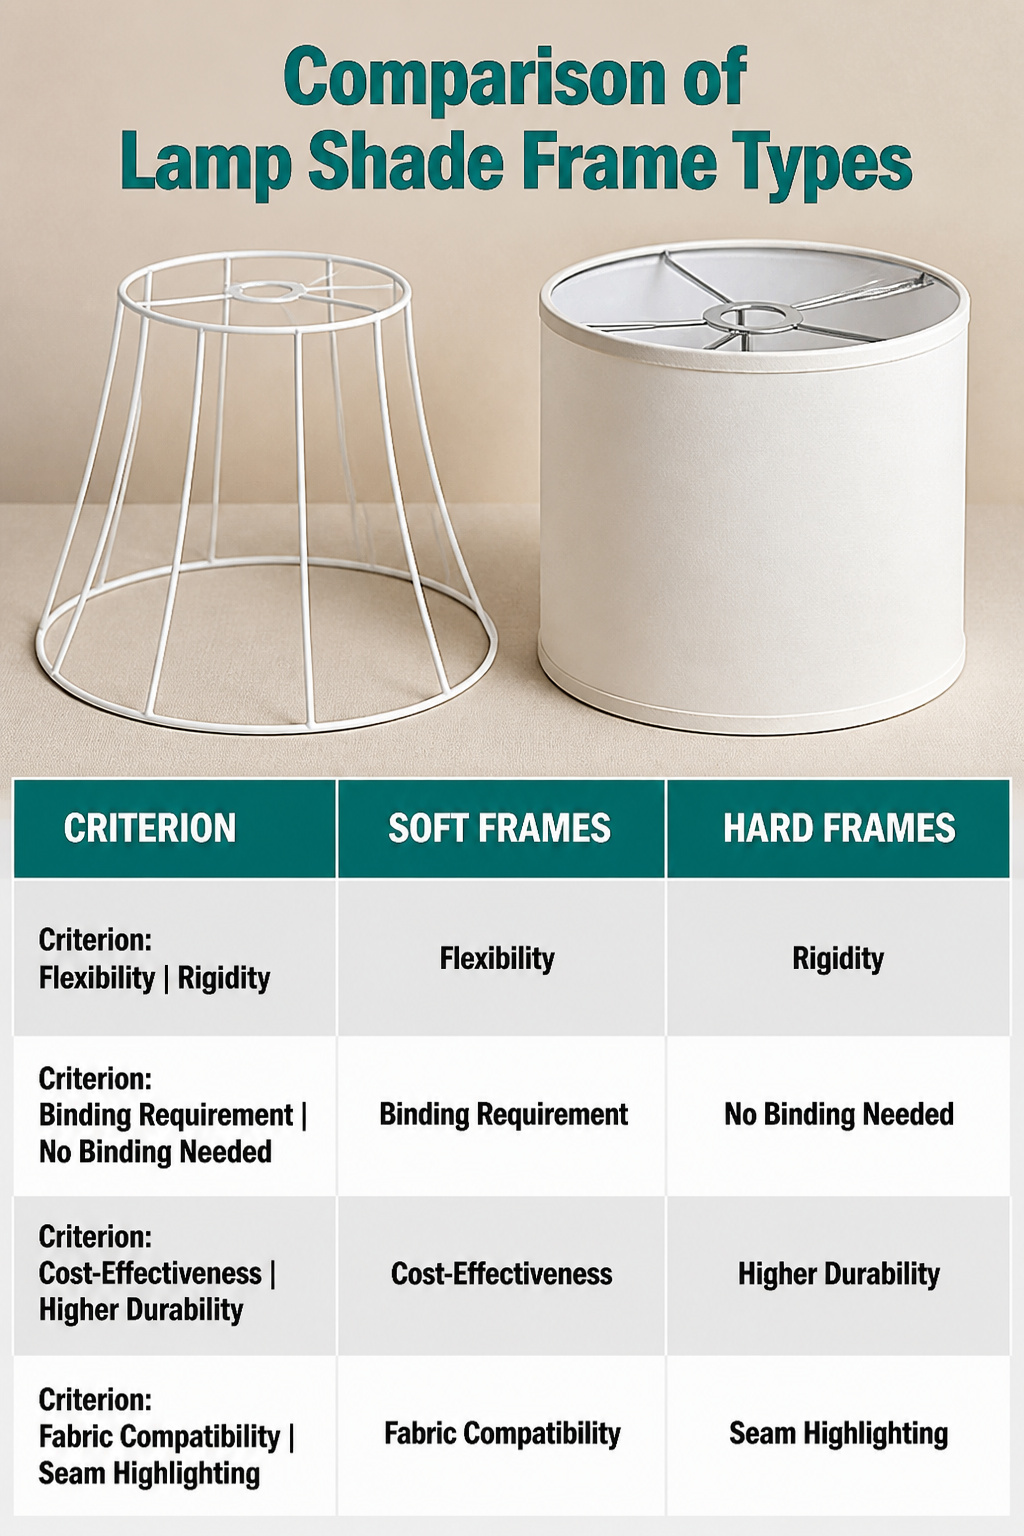
Soft lamp shade frames are built from flexible wire ribs that bow outward from a central ring, creating the classic drum or empire silhouette that collapses inward when pressed. These are the ones you see in craft stores sold as bare skeletons, and they demand a binding layer, usually self-adhesive styrene or thin cotton tape, before any fabric touches them. Without that buffer, the fabric sags between ribs or tears against the wire edges within a few months of heat cycling.
Hard frames come as rigid shapes, often metal or molded plastic, with a continuous surface already in place. They skip the binding step entirely, which saves a weekend, but the tradeoff is weight and less forgiveness. A hard frame shows every seam and bump in your covering material, so thin or loosely woven fabrics read as lumpy where a soft frame would hide the same flaw in its natural give.
For renters and first projects, soft frames win on cost and mistake recovery. A tear in your binding means ten minutes and a new strip, not a ruined frame. Hard frames earn their place on high-use table lamps where kids or pets might crush a wire shape, or anywhere you want a crisp geometric shade that holds its line without slumping.
Recommended Products

【Cotton Material & Practical Packaging】 Crafted from breathable fabric cotton, this webbing tape is eco-friendly & soft. Each roll measures 2-inch wide x 15-yard long (5cm x 13.7m).Its gentle texture provides comfort feeling, making it ideal for bag straps, apron ties, and garment edging.
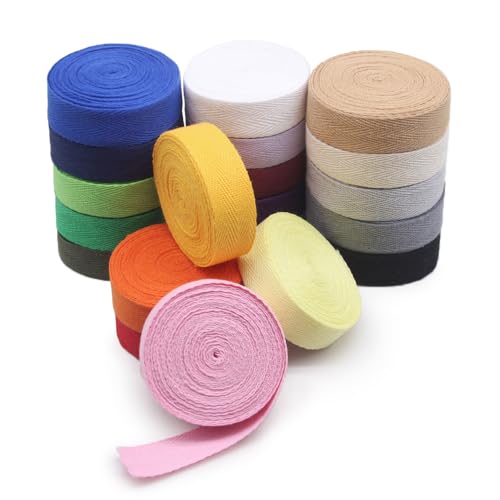
100% Cotton Twill Tape: Made of 100% pure cotton.

1 roll 1inch x 55 Yards cotton tape in natural white.
Binding Techniques
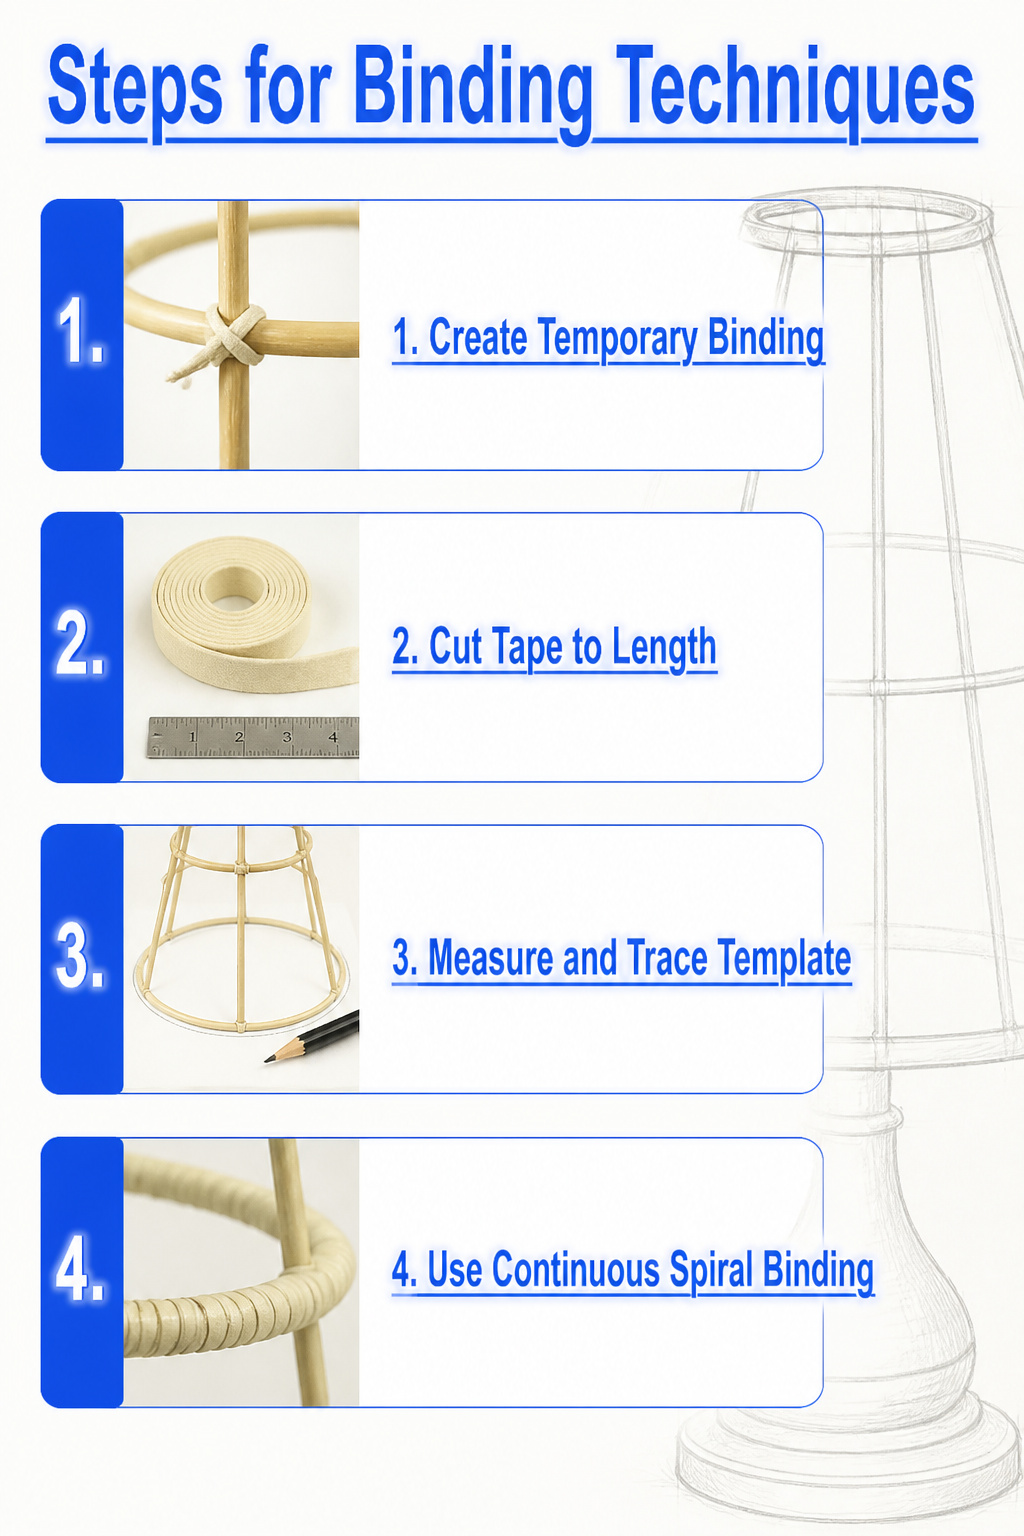
Temporary binding exists only to hold struts in place while you build a panel template. A tight knot does the job; no sewing needed, since the whole point is pulling it free once the template is traced. Permanent binding stays under the finished shade, so every wrap has to sit flat. Lumps from uneven tension telegraph straight through fabric and read as amateur work from across the room.
For temporary work, measured tape length matters more than you’d expect. Cut a piece to the exact strut circumference plus two inches for handling, and you avoid the guesswork that stretches one panel slightly larger than the next. Consistent templates mean the sewn cover drops over the frame without fighting at any seam.
I learned to bind permanent frames in one continuous spiral rather than individual ties. Each wrap kisses the last, no gaps, no double layers, and the thread tension stays identical because your hand finds a rhythm after the first three passes. The difference shows once fabric is on: a bound frame that looked smooth bare still reveals every bump under thin cotton, while one that seemed almost too tight handles silk without shadow.
Recommended Products

★ The industrial thread and needle Best Selling Upholstery Repair Kit for Carpets, Canvas, Upholstery, Coats, Tents, Mattresses, Furs and Leather.
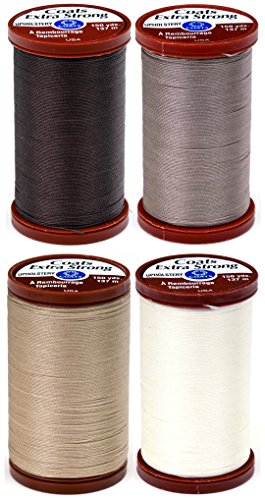
4 Pack – Chona Brown, Driftwood, Hemp & Natural – 150yd spool each

Material: 100% bonded nylon: This thread is made from 100% bonded nylon, ensuring durability and strength
Fabric Selection
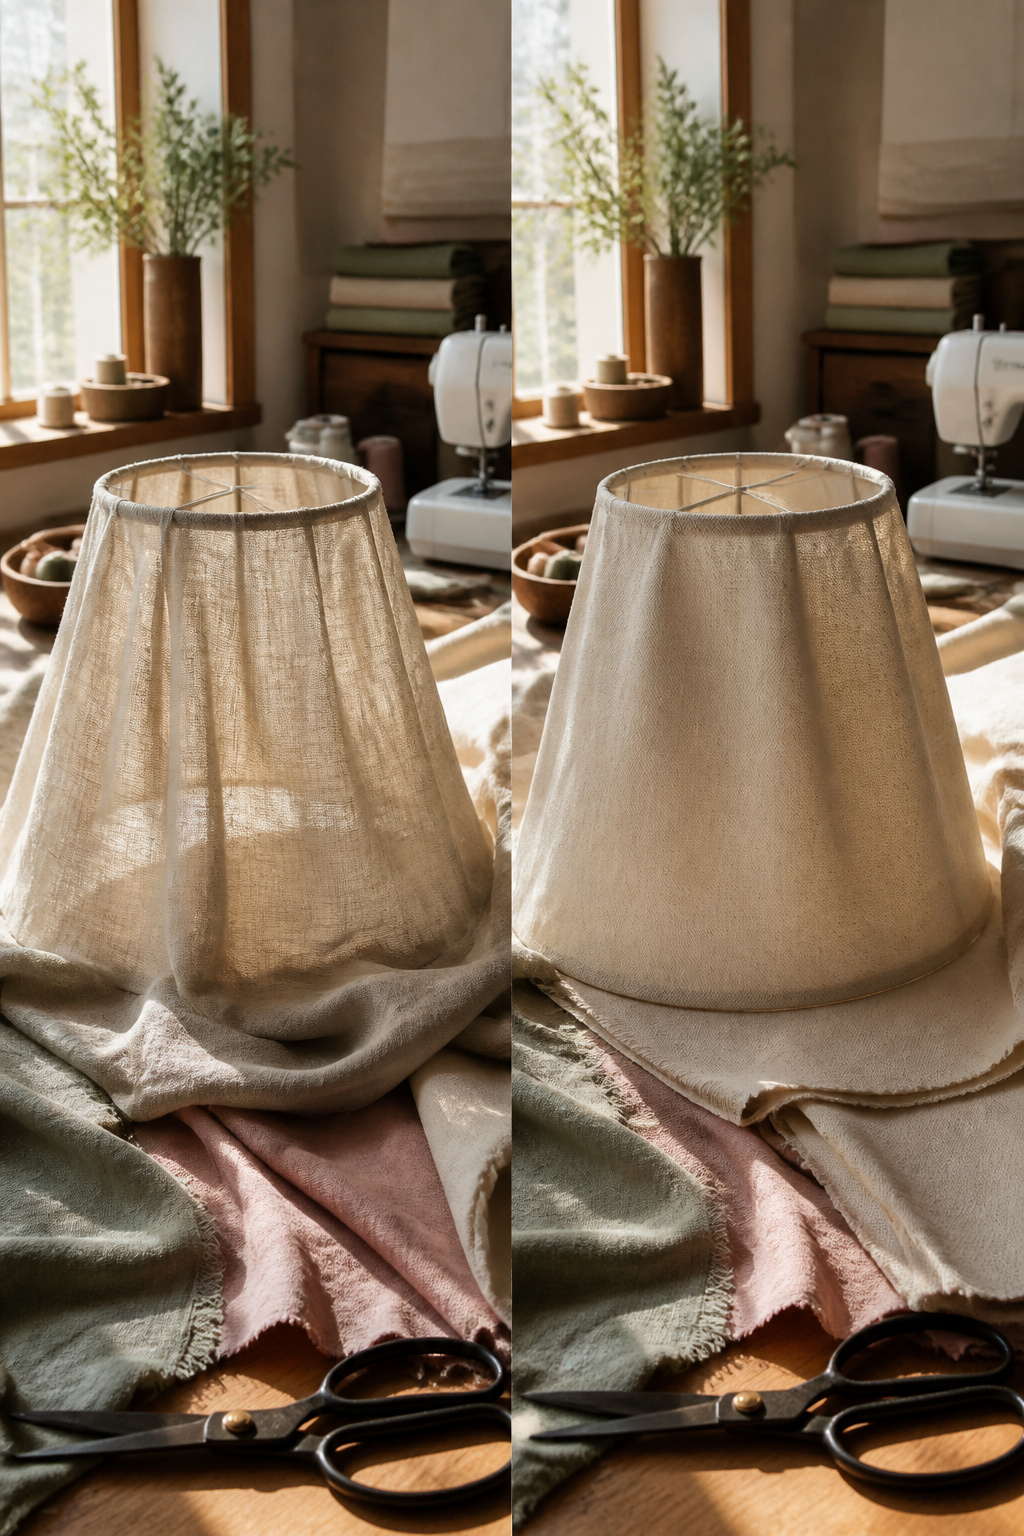
A soft frame with its wire ribs needs fabric that can drape and gather without fighting the shape. Lightweight cotton or linen with a loose weave works here; the material eases around the curves and the light filters through in a way that feels intentional, not accidental. Stiff fabric on a soft frame looks like a tent, and the tension eventually pulls the binding loose.
Hard frames, the ones with solid rings top and bottom, can take heavier material. Canvas, upholstery weight, even a textured weave: the structure is already there so the fabric just has to hang straight. The lining matters just as much as the outer layer, something I missed on my first shade. I used a beautiful ochre linen outside and left the bare bulb visible through thin white cotton inside. The color turned muddy when lit, and the hot spot at the top was harsh enough to read by. A proper lining, something opaque and slightly reflective like ivory sateen or even a lightweight blackout cloth, bounces light downward and evens the glow.
Weight and weave also control how much light escapes through the sides versus the bottom. A tight weave diffuses; an open weave throws patterned shadows on the wall. If you want reading light, go tighter and add lining. If you want atmosphere, a loose outer weave with no lining at all can work, but only on a hard frame where the shape holds without support.
Recommended Products

LINEN CHANDELIER SHADES:5.2"×5.2"×H5.2",mini modern fabric lamp shades for table lamp, chandelier and wall Lamp,small drum,set of 2pcs in one box.
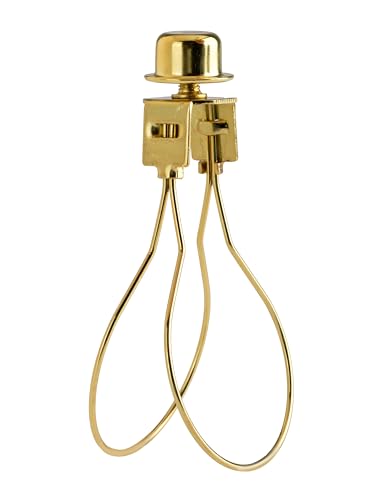
🌟 VERSATILE DESIGN: Convert washer-type lamp shades to clip onto regular-shaped bulbs with ease. No lamp harp required!

SHADE CLIP WITH SILICONE LEVELLERS. Fitted with heat resistant silicone tubes.It doesn't fall off the bulb and shade doesn't move.The silicone material could stand hot and doesn't melt
Frequently Asked Questions
Recommended Products
Self-Adhesive Repair: This lamp shade tape adhesive applies quickly with a self adhering backing, helping you repair or refresh lamp shade edges without extra tools while keeping the process neat and simple for DIY home projects

Package contains: 14 inch High X64 inch Wide linen with different thickness and fine texture lampshade materials. Additional materials required to make lampshade: Decorative fabric edge length130inch, Self-adhesive fabric edge length130inch. (Glue to be purchased separately)More sizes and different materials are available, including lengths suitable for various lighting retrofit projects. You can also cut it into the size you want. We are trying to perfect our product.

DIY LAMPSHADE STYRENE: Pressure sensitive adhesive styrene for lampshades is a thin polystyrene sheet with a sticky adhesive backing. It's the most commonly used lampshade liner in professionally manufactured lampshades because it's flame-resistant, durable, and translucent enough for the light of a bulb to pass through. Reveal the adhesive backing on the styrene by peeling back a release liner, then apply your choice of material to the styrene to make professional quality lampshade.
What type and width of tape should I use for a DIY lamp shade frame?
Use cotton tape, which grips fabric properly and holds up under lamp heat. Choose 12mm width for small to medium shades, and 20mm for larger frames so you cover more surface without building up too much bulk.
How do I bind a lampshade frame?
Wrap cotton tape diagonally around the wire, with each new pass covering half the previous wrap. Pull tight as you go; loose binding shifts later and shows through as ripples in the finished shade. The finished surface should feel almost solid, with no bumps where struts meet rings.
What tools and materials do I need to bind a lampshade frame?
You need cotton tape, a sharp needle, extra-strong cotton or upholstery weight thread, dressmaking scissors, embroidery scissors for tight corners, and Mini Wonder Clips to hold the tape in place while you work. Regular thread frays where tape pulls tight, so do not substitute standard sewing thread.
Leave a Reply