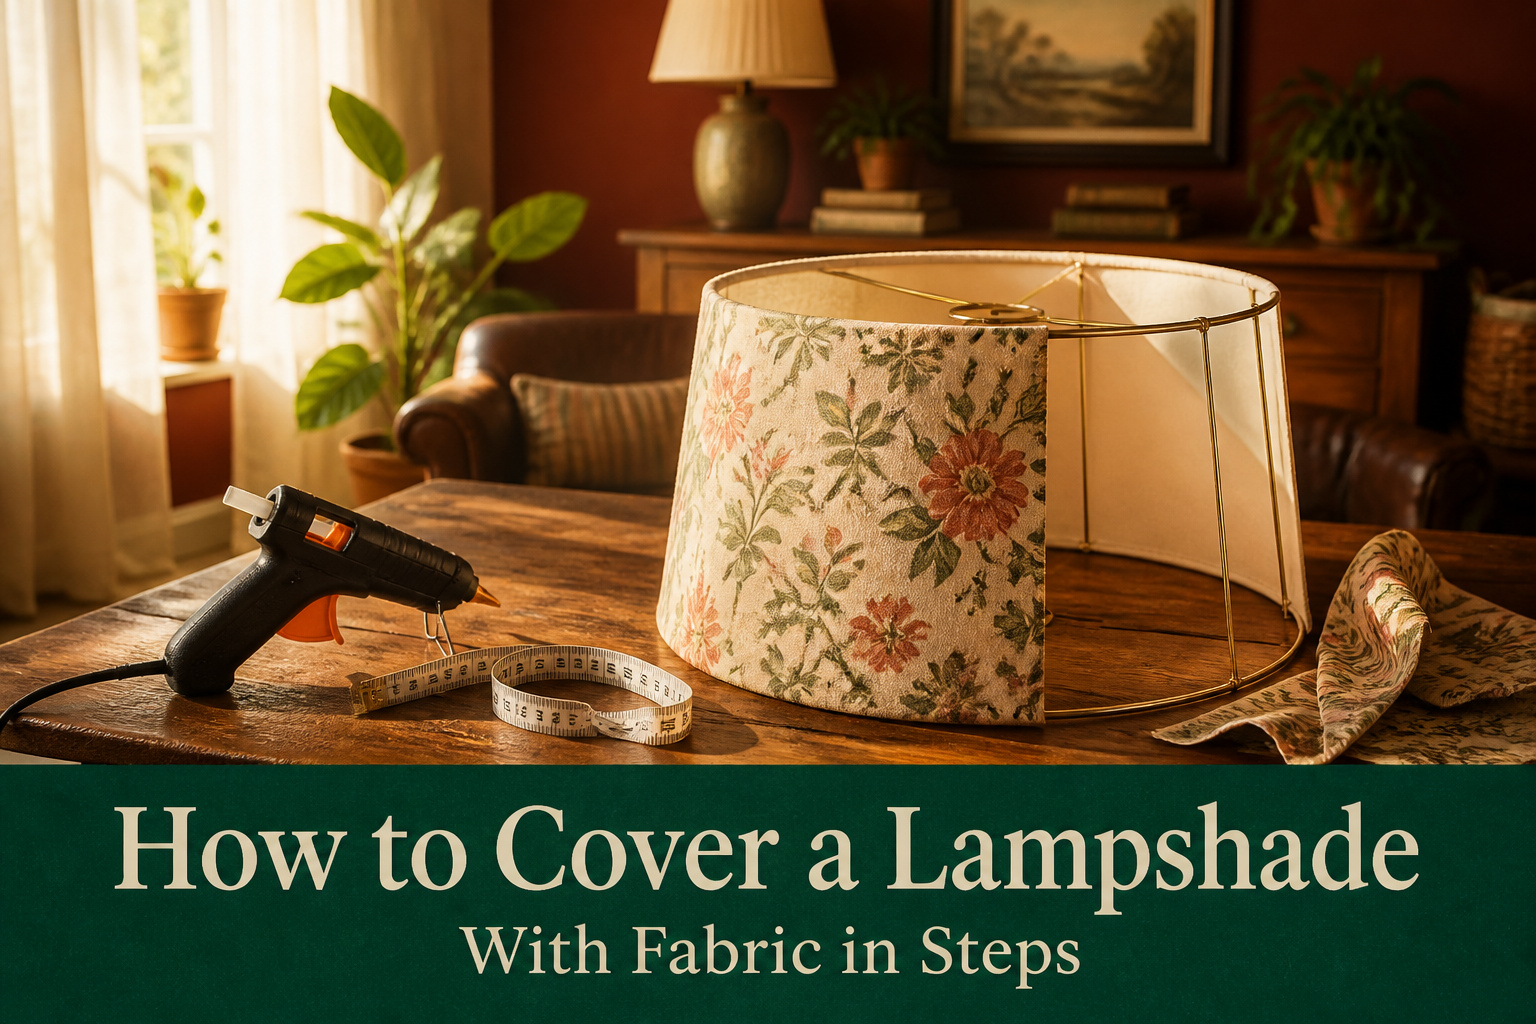
You can recover a lampshade in about thirty minutes with a half yard of cotton or linen and a glue gun, but only if the shade is worth starting from. Drum shades are forgiving; tapered or bell shapes fight back unless you cut a paper template first, mapping the actual curve before the fabric touches frame. That template step is where most guides skip ahead and most first attempts fail.
1. Select a Lampshade Worth Recovering

Drum shades are the easiest shape to recover because their straight sides need no template at all. You measure once, cut a rectangle, and the fabric lies flat without fighting any curve. Tapered empire shades and bell shapes can absolutely be done, but the slanted sides will distort a print or pattern and make the pleating fussier than a beginner usually wants. Solid shades work better than ones with visible frames or heavy texture, since you are adding a layer on top rather than starting from scratch. An old lampshade is fine to use as long as the frame underneath is intact. Thrift store finds, hand-me-downs, or that plain shade that came with an Ikea Arstid lamp all work; just avoid anything too thick already, because doubling up with fabric will cut the light coming through more than you expect.
Recommended Products

COMPLETE DIY LAMPSHADE KIT 12 x 8 INCH – Make your own custom drum lampshade at home with this beginner-friendly no sew kit. Includes 2 white metal lampshade rings, pre-cut white self adhesive styrene liner, red and white double sided tape, wooden finishing tool, and illustrated instructions. Finished shade size is 12" diameter x 8" high.

【PACKAGE INCLUDES】 1 Piece lamp harp – 7 8 9 10 inch level 4 adjustable tall. Equipped with finials, 3/8 standard saddle, various lamp head converters, E14, E26, E27. You can choose the lampshade size that best suits your installation.

Package contains: 14 inch High X64 inch Wide linen with different thickness and fine texture lampshade materials. Additional materials required to make lampshade: Decorative fabric edge length130inch, Self-adhesive fabric edge length130inch. (Glue to be purchased separately)More sizes and different materials are available, including lengths suitable for various lighting retrofit projects. You can also cut it into the size you want. We are trying to perfect our product.
2. Gather Fabric, Glue and a Few Tools

Cotton, linen, or light upholstery fabric will behave itself around a curved shade where heavier cloth fights back. Stretchy knits, thick velvet, and anything transparent are the three that waste your afternoon: the first skews crooked, the second won’t lie flat, and the third shows every glue blob and frame shadow underneath. 1.5 to 2 yards covers most pleated shade projects, though a half yard handled a standard drum shade in one write-up I came across. Patterned fabric needs extra attention at the cutting stage, so buy enough to follow the print lines straight.
A hot glue gun with high-temp glue sticks is the usual adhesive, though spray adhesive works if you prefer an even coat and have ventilation. Regular glue sticks held up in one account, but high-temp is the safer bet against heat softening the bond. Scissors and a pencil are the only other musts. Edge banding or trim is optional; some shades come with a glued strip top and bottom that pries off cleanly, giving you a flat foundation to work from and a reusable finish to glue back on after.
Recommended Products

Shade Dimension: Top diameter: 11.6 inch , bottom diameter:12.6 inch, height: 9.8 inch, screw thread diameter: 0.43 inch. Medium size suits most table lamps and floor lamps. Please check the shade size carefully to make sure they are suitable for your light fixtures before purchasing.

DIMENSIONS: 7.5" x 12" x 10.25" (Top Diameter x Bottom Diameter x Slant Height)

Organic natural pure 100% linen fabric, plain, solid colour
3. Make a Paper Template for Tapered Shades

Tapered shades look simple until you try to wrap fabric around them flat. The top edge is narrower than the bottom, so a rectangle of fabric will pucker or gap no matter how tight you pull it. A paper template removes that guesswork by mapping the actual curve of your shade.
Drum shades skip this entirely; their top and bottom circumferences match, so a straight rectangle works fine.
For everything else, tape two sheets of newspaper or craft paper together and wrap them around the shade, overlapping the seam in back by about an inch. Trace the top wire frame, then the bottom, directly onto the paper. Unwrap it and cut along your lines. The shape looks wrong laid flat, but that is the point: it is the unwrapped cone of your shade.
Before you touch the fabric, wrap the paper template back around the shade to check the fit. The ends should overlap by roughly an inch in back, and you want at least an inch of extra paper extending past both the top and bottom edges. If the template gaps or twists, the fabric will too. Fix it now with a fresh sheet.
Recommended Products

ALL-PURPOSE HOT GLUE STICKS – Includes 100 mini-size glue sticks for bonding delicate-to-hardy materials, including metal, wood, paper, fabric, magnets, ceramics, floral arrangements, glass, and plastic.

Twice as long: 2 times the length of our other hot glue gun sticks to provide more for your DIY, Craft, School, or Repair project
4. Measure and Cut the Fabric With Extra for Edges

Unroll your template on the wrong side of the fabric and trace around it. Leave roughly an inch of extra fabric above and below the traced line; this margin folds over the top and bottom edges of the shade later and hides the raw edge. No exact formula covers every lampshade, so that inch acts as insurance against a crooked cut or a slightly oval frame.
For a straight drum shade, one piece usually wraps the whole circumference. A tapered shade can demand two pieces if your fabric bolt is narrow, spliced at the back where the seam lands. I have learned to check this before cutting anything; running short halfway around a cone-shaped frame means either a visible patch or a trip back to the store.
Recommended Products

Paper floor lamp protector– rustic lamp shades paper floor lamp shade nordic style floor lamp cover contemporary floor lamp shade , the appearance is simple and elegant, and a good home decoration, suitable for hotel, bedroom, study, library, etc.

Easy to install. Paper Lamp Shade can help create cozy feeling in your room, making you feel more relaxed

Reinforced Sturdy Construction: Unlike flimsy paper lamp shades that tear during assembly, our VOSAREA floor lamp shade is crafted from high-density thickened paper with resilient fiber structure. This upgraded material resists breaking and deforming over time, solving the common complaint of fragile shades while maintaining a crisp, cylindrical shape for years of use in your living room or office
5. Attach the Fabric Taut and Smooth

Two adhesives dominate this step, and each punishes a different kind of rush. Hot glue demands that you work in small sections because it skins over in seconds; lay one vertical bead at a seam, press the fabric down fast, and pull it taut top and bottom before the glue sets. I learned from watching others that a too-slow first attempt peels off clean and wastes the bead entirely. Spray adhesive gives you more room but creates its own trap: an even coat across the whole surface lets you lay the fabric down in one sweep, yet that same speed makes wrinkles permanent the moment they touch. Press from the center outward and chase air bubbles toward the edge, not toward each other. The baggy spots that ruin a first try almost always come from gluing the full height at once or smoothing from the side instead of the middle. Fold under about a half inch at the finishing edge for a clean hem, seal it with a final line of hot glue, and turn that seam to the wall so the front stays sleek.
Recommended Products

HEAVY DUTY PERMANENT BOND: Gorilla Spray Adhesive forms a clear, permanent bond built for tough, long-lasting hold on a wide range of craft, DIY, and repair projects indoors and out

PERMANENT BOND STRENGTH: Incredibly strong, permanent contact adhesive built to hold a wide range of materials and surfaces for indoor and outdoor projects

All purpose spray adhesive creates a smooth, flexible and non-wrinkling bond
6. Fold and Glue the Top and Bottom Edges

The raw edge of fabric against the inside rim of a shade is what separates a project that looks finished from one that looks like a craft-night mistake. I fold the excess over the top and bottom rings and glue it to the inside, working in three- to four-inch sections so the hot glue stays molten long enough to set the fabric. Anything longer and the bead cools before I can press the fold flat. The sources I read all warn about this timing; one mentioned peeling off a whole strip that dried too fast and starting over. At the bottom ring, I snip tiny slits where the metal support rods rise so the fabric can wrap cleanly around them, then glue those small flaps down on either side. The whole fix takes maybe ten minutes but reads as intentional from across the room.
Recommended Products

Universal Fit: This lamp shade light bulb clip adapter fits most standard light bulbs. It measures 4.1" in length and 2.1" in width, with a 0.59" thread on top, making it compatible with a wide range of lampshades that feature a spider frame

DRUM LAMPSHADE RINGS – These rings are used at the top and bottom of round shaped, drum lampshades, giving the shade structure and support.

【Complete Lamp Harp Kit】Includes 1 nickel-plated 8 inch lamp harp, 1 detachable harp holder, 1 cap knob finial, 1 E26 UNO fitter adapter, and 1 IPS standard saddle. Designed for lamp shade replacement, repair, or lamp upgrade projects.
7. Add Trim or Reuse Original Edge Banding

The folded edges of raw fabric will fray and look homemade in the worst way, so some kind of finish is non-negotiable. Bias tape or a narrow ribbon glued over the fold covers the glue line and gives the shade a framed, intentional look. I buy cotton bias tape in a color slightly darker than my fabric so the edge reads as a design choice rather than a repair.
The other route is slower but even cleaner: before you attach anything, peel back the original edge banding from the shade’s frame, work your fabric up to the wire, then press the banding back over the fabric’s folded edge. The banding was already sized for that curve, so it lies flat without fighting you. Either approach takes about ten minutes once the glue is tacky. Skip it and you will spend an hour later staring at lifted corners and wondering why the whole thing looks off.
Recommended Products
Core Feature: This lamp shade material is pre-cut and designed for DIY floor lamp projects, providing a practical and convenient solution to create unique light shades that enhance home decor

Lampshade Dimensions: This large drum lampshade, with a top diameter of 13", a bottom diameter of 13", a height of 10", and a screw thread diameter of 0.43", is designed to fit most table lamps, floor lamps, and wall lamps with lamp harps. Please check the compatibility of the shade and accessories with your light fixtures before purchasing

Cotton Lamp Shades: The Barn Red – Nutmeg Salem Check Lampshade is made of cotton. This is a 14" shade. Our lampshades are self bias trimmed and side stitched down the body. Our 14" shade measures 6" across the top, 14" at the bottom and 10.5" high Lampshade by Home Collections By Raghu, a perfect addition to primitive home decor.
8. Let Glue Cure Before Lighting

Hot glue sets within seconds but still needs a full cooldown before you move the shade. Spray adhesive takes longer to cure, and touching it too early leaves fingerprints in the finish or loosens the bond at the edges. A shade moved too soon loosens at the edges, and you will not notice until the fabric starts to sag or gap.
Once the glue feels hard and the fabric no longer shifts under gentle pressure, install the shade and look up from below. No fabric should overhang the bulb clearance; even a thin flap can darken the room or, worse, sit too close to a hot bulb. Most of these projects run about thirty minutes to a few hours depending on whether you are working a straight drum or a tapered shape with seams. The drying time sits on top of that, so plan for the shade to rest untouched before you call it finished.
Recommended Products

MADE IN THE USA USING GLOBALLY SOURCED MATERIALS: Surebonder glue sticks are proudly engineered and manufactured with globally sourced materials in Wauconda, Illinois
Hot Glue or Spray Adhesive

Hot glue wins on speed: one bead down a seam sets in seconds and the fabric is locked before it can sag. Spray adhesive needs a light, even coat and a minute of tack time, but it covers broad, curved surfaces without the raised bumps that happen when hot glue over-applies. Ventilation is non-negotiable with spray; overspray drifts onto floors and the glue stays sticky where you did not mean to put it. Hot glue forgives a shifted edge if you catch it within a few seconds; spray adhesive, once pressed, does not lift without tearing the paper shade underneath.
| Factor | Hot Glue | Spray Adhesive |
|---|---|---|
| Set time | Seconds | Minutes to full bond |
| Evenness | Can ridge if overapplied | Thin, uniform coat |
| Forgiveness | Brief window to reposition | n/a |
| Mess | Strings and bumps | Overspray, needs ventilation |
| Best for | Seams, hems, small repairs | Full surface coverage |
I keep both on hand: spray for the main wrap, hot glue for the starting seam and the folded hem at the end.
Fabric and Shade Shapes That Work

Drum shades are the forgiving starting point. Their straight sides let fabric lie flat with no puckering, so a single rectangle wraps clean around and the seam hides at the back without drama. Tapered or bell shapes demand more patience; the fabric has to ease around a changing circumference, and if you pull too tight the bias stretches and the pattern skews. I have watched cotton and linen behave predictably here, falling into place with a little coaxing, while stretch fabrics distort the instant they meet a curve and never recover.
Synthetics near a bulb are a real risk; some melt or yellow with heat, and a shade that sits close to the glass makes this worse. Heavy upholstery weight fights you on any tight curve, bunching instead of smoothing, and thick fabric also blocks light. The sources I trust stick with cotton, linen, or light upholstery weave for exactly these reasons: thin enough to glow, stable enough to control, and no surprise sagging once the glue sets.
No-Sew and Pleated Styles

A flat wrap is the safest first attempt, but the same materials stretch further if you handle the fabric differently. No-sew pleating eats more yardage, roughly three to four lengths of fabric to get around one shade, because each fold swallows extra material. The payoff is that the ridges hide small mistakes in glue placement or uneven edges, which a smooth wrap would expose immediately.
For pleating, you work in sections. Glue one fabric length to the back seam, then fold and dot-glue at the top rim, holding each pleat for a second or two before moving on. Repeat at the bottom rim, pulling the fabric taut so the folds stay crisp rather than sagging. When you reach the end of a length, tuck the raw edge under and disguise it as another pleat; the seam vanishes. Trim tape pressed over the top and bottom rims covers the last rough edges.
The flat no-sew method, already covered in the main steps, is faster and uses less fabric. It suits bold prints or solids you plan to dress up with ribbon. Pleating adds texture that reads custom, but budget the time: a few hours of folding and gluing is typical, and the fabric cost climbs with the extra lengths. I would pleat a shade I planned to keep for years, and flat-wrap one I might tire of by next season.
What the Search Results Get Wrong

Every guide I read before my first shade skipped the math that actually matters. A drum shade with a 10-inch diameter and 12-inch height needs a different fabric rectangle than a tapered empire of the same height, but no one publishes the formula that accounts for that slope. What convinced me, reading through a dozen of these, was that the template step gets treated like an afterthought when it is the whole job. Cut the paper template first, measure it flat, and add one inch total to both directions; that is the only reliable way to get a number that survives contact with real fabric.
The same guides show the fabric going on perfectly straight, which is not what happens. When the grain pulls even slightly off vertical, the pattern tilts and the seam wanders. Glue strings are worse; they form in the ten seconds you are not looking and harden into white cobwebs that pick up dust for years. Most tutorials edit this out entirely. You will need to roll the shade slowly, checking alignment every quarter turn, and keep a bamboo skewer handy to lift glue threads while the adhesive is still warm.
Pattern scale is the last gap. A large floral that reads beautifully on a curtain swatch can look like a smear at lampshade scale, and a tiny geometric that works on a throw pillow turns to visual noise when repeated around a cylinder. What I noticed across the sources is that medium-scale motifs, roughly two to four inches in their largest dimension, survive the reduction best. Stripes and simple repeats are forgiving; busy scenes with perspective lines are not. The guides never say this because they are choosing solid fabrics for the photos.
Frequently Asked Questions
Can I cover an old lampshade with fabric?
Yes, and it is one of the cheapest ways to update a lamp. Any shade with an intact frame works, including thrift store finds or hand-me-downs. Just avoid shades that are already thick, since adding fabric on top will block more light than you expect.
What kind of lampshade is best to recover?
A drum shade is the easiest choice because its straight sides need no template; you measure once, cut a rectangle, and the fabric lies flat. Tapered empire and bell shapes can be done, but the slanted sides distort prints and make pleating harder for beginners.
What fabric material can you use to cover a lampshade?
Cotton, linen, or light upholstery fabric work best. Stay away from stretchy knits, thick velvet, and transparent fabrics, which skew crooked, refuse to lie flat, or show every glue blob and frame shadow underneath.
What is the best glue for covering a lampshade?
Hot glue with high-temp sticks is the standard choice because it sets in seconds and holds against heat. Spray adhesive works too if you want an even coat and have good ventilation; use it for full surface coverage and hot glue for seams and hems.
Leave a Reply