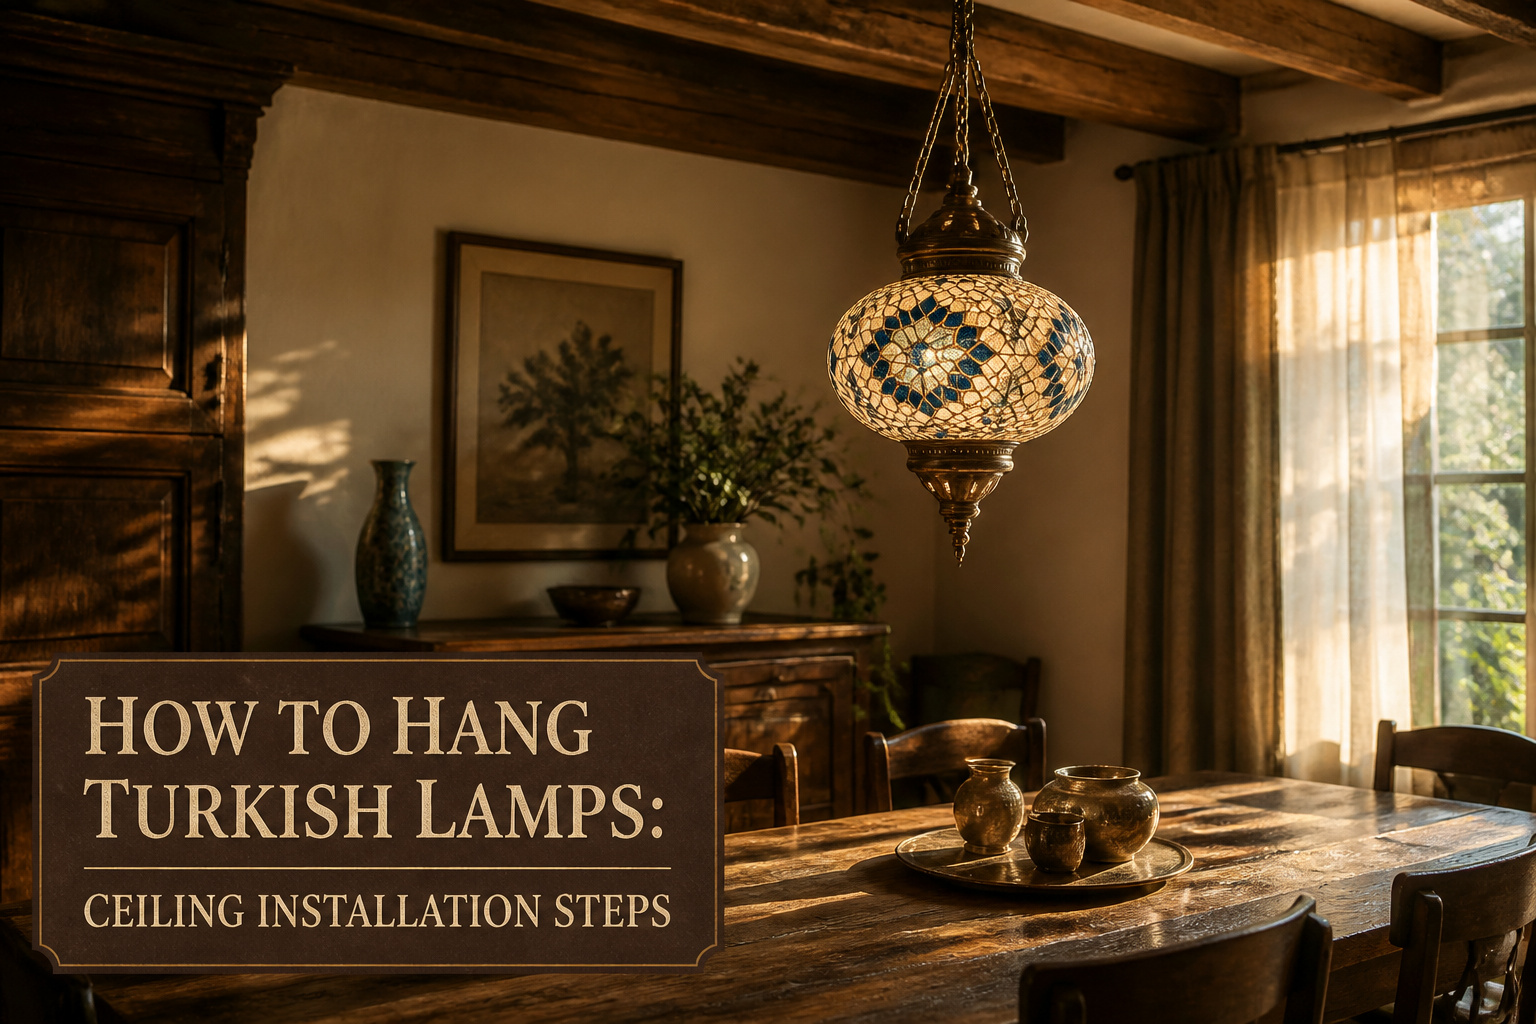
A Turkish lamp hangs from a chain and canopy, but installing one in an American ceiling means dealing with wiring, socket sizes, and heat before the glass ever leaves the box. The E14 sockets these lamps ship with are two millimeters wider than standard US E12 candelabra bases, and that gap is enough to melt a bulb against the contact if you force the wrong fit. Most guides skip the hour-long burn-in test, which is when a loose wire nut will arc inside the closed shade and has nowhere to dissipate heat.
Disconnect the Power

Electricity has to be dead before your hands go near the wiring. Every guide on this starts the same way, and for good reason: flip the breaker that feeds the ceiling box, then test the wires anyway. I used to stop at the breaker. Then I spent an afternoon on a project where the panel label was wrong, and the black wire I was about to strip still had current running through it. Now I keep a non-contact voltage tester in the bag with the wire nuts and check every conductor before I touch anything. The tool looks like a thick pen with a plastic grip; you hold it near the insulation, and it lights up or chirps if voltage is still present. The sources I trust say the same thing: cut the power at the breaker, then confirm the circuit is actually dead at the box itself. No light, no sound, no work. It adds maybe ninety seconds, and it is the only step I refuse to skip.
Recommended Products

High-quality materials, durable and excellent performance. The lamp holder converter is used to convert lamp holders, which does not have the function of a transformer or…
Check the Socket Size

Most Turkish lamps ship with an E14 socket, the 14 mm European standard, while US fixtures run on the narrower 12 mm E12 candelabra base. That two-millimeter gap is enough to ruin a Saturday evening if you discover it after the hardware store closes. I learned this the hard way and now keep a small bag of E14-to-E12 adapters in my lamp drawer, the kind that sell for about a dollar fifty each in packs of ten. Screw the adapter in first, then the bulb seats properly without dropping too deep and shorting against the contact, which is what happens when you try to force the wrong fit. The spark and melted metal some buyers report comes from exactly that mismatch, not a faulty lamp. If your fixture already has an E14 base, you are in the clear, but most American ceiling boxes do not. Check before you climb the ladder, not after.
Recommended Products

Important Notice: This is E14 European Base, base diameter is 14mm, not e12, e11, e17, e26, please check your fixture and confirm the right base before buy, if you need small…
Select Appropriate Bulbs

The glass globes on Turkish lamps are smaller than they look in photos, and the heat has nowhere to go. I learned this the hard way after screwing a 40W incandescent into one globe without checking; within an hour the white frosting inside the glass had melted into drips. 4W LED equivalents are the safe choice, and they still throw enough colored light to fill a corner.
The wiring in most imported lamps is not built for American bulb wattages. Using 4W candelabra bulbs across all seven sockets pulls about 0.23 Amps on the main line, well below what the factory gauge can handle. A 40W incandescent in each socket would push that same lamp close to its limit. The math is simple enough to do in your head: divide the bulb’s watts by 120V for each socket, then add them up. Keep the total low enough that you could fall asleep with it on.
Recommended Products

[Warm White Glow]: soft warm glow (2700 – 2900K), perfect for a warm and cozy atmosphere

Excellent Quality without Flicker: Brightever light bulbs have passed rigorous testing standards – are free of harmful substances such as mercury and lead, and will not produce UV and IR radiation. That also means, our bright white light bulbs are Eco friendly bulbs that can help to save the planet you live on. No flicker, strobe or glare, our 40 Watt Equivalent light bulbs emit a stable light to better protect your eyes.

Reliable&Eye-caring – Brightever is dedicated to creating high-quality light fixtures for customers and providing them with an excellent lighting experience. After countless quality tests, our led candelabra bulbs are completely free of mercury, lead, and harmful UV/IR radiation. Additionally, these bulbs give off steady light that better protects your family's eyes from flickering or strobe.
Alter the Cord Length

Most Turkish lamps ship with a generous cord, but generous rarely means right. In my last rental, the junction box sat exactly where I couldn’t use it, and the nearest outlet was a full six feet off. 18 gauge electrical wire is what you want for extending or shortening the run; anything thinner heats up under the load, and anything thicker is a fight to hide inside the chain.
Stripping the factory cord back means matching the new wire color for color, then capping each pair with wire nuts and wrapping the nuts in electrical tape. The tape isn’t decorative; it keeps the nut from backing off if the lamp sways, which Turkish lamps do, constantly. I learned that after one popped loose and the lamp flickered for a week before I traced it.
Shortening works the same in reverse: cut to length, restrip, reconnect. Leave yourself an extra foot coiled at the canopy if you can. The next person to live there will thank you, and that person might be you in two years when the landlord finally moves the outlet.
Recommended Products

NON-CONTACT DETECTION of AC voltage in cables, cords, circuit breakers, lighting fixtures, switches, non-tamper-resistant outlets, and wires

VERSATILE VOLTAGE DETECTION: This Voltage Tester offers non-contact detection of low voltage in security, entertainment, communications, environmental control, and irrigation systems
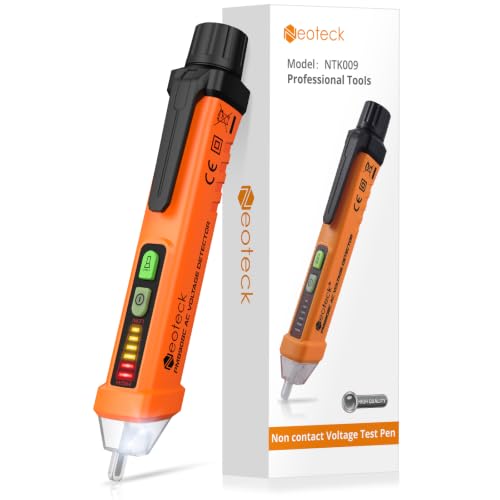
【Non-contact Voltage Tester】 Ranging 12-1000V AC, You can easily distinguish the live and null wire through different level of alarm sound and LED indicator. ( Note Please:Not Suitable for Christmas Light Testing)
Install a Ceiling Hook

A ceiling hook for a Turkish lamp has to hold more than the globe looks like it weighs. Mosaic glass, metal fretwork, and the chain itself add up fast, and the swing when someone walks past is extra load the hook never sees with a still fixture.
I have put hooks into three kinds of ceilings. Old plaster needs a toggle anchor sized for the real weight, not the minimum on the package, because the crumbly stuff behind the surface gives way slowly and then all at once. Drywall without a joist is the same game: find an anchor rated for ceiling loads, which run lower than wall loads, and use a chandelier brace if the lamp is heavy enough to make you pause before lifting it. The brace spreads the weight across the joists instead of betting everything on a single point in half-inch board. I found a joist once with a stud finder, drove the hook straight in, and that held best of all, though the finder lied about the edge and I angled the pilot hole twice before it bit true.
The brace matters more than people think. I have seen a hook pull out of old plaster carrying less weight than a full Turkish mosaic globe. The lamp survived; the ceiling did not.
Recommended Products

【Package includes 】1 pcs 4.75''base plate canopy kit with crossbar, mounting screws, threaded rod, screw collar loop, 6 Feet heavy duty chandelier chain, 2 connection locks. (NOTE: Not include grounding wire)

43-inch chain, 5-inch canopy, it comes with screws and wire connectors. The threaded pipe and nut are 1/8" IP (G3/8") – 27T

Zing Ear ZE-109 Two-wire pull chain switch, activates canopy lamps by gently tugging the beaded chain, compatible with most ceiling fans or fan lights
Connect the Wiring

Most Turkish lamps arrive with a connection key, a small block with four holes. Two holes take the ceiling cables, the other two take the lamp’s own wiring. The copper strands slide in, you tighten the screws, and the lamp is electrically joined to the house.
Color coding matters here. Brown wire goes to the right socket, blue to the left. Getting this backward won’t necessarily fail, but the lamp may not ground correctly and the switch logic can reverse. I keep a phone photo of the key before I start so I have a reference if the wires twist on me.
For the actual join, wire nuts are the tool I reach for. Twist them on until the copper binds, then wrap the base in electrical tape. The connection key is optional if you are comfortable with direct splicing, but the key keeps everything neat and gives you a clean place to test with a multimeter before you lift the lamp into place.
If your ceiling box has no live circuit, or if you are renting and do not want to touch house wiring at all, adding a plug and running extension wire to an outlet is a legitimate workaround. Match the gauge and color to the lamp’s cord, strip the ends, wire-nut them inside a small junction box, and cap the ceiling box safely. I have done this in two apartments where the ceiling fixture was original to the 1960s and I did not trust the insulation. It takes an extra ten minutes and means you can take the lamp with you when you leave.
Recommended Products

Color and amount: package includes 15 pieces e14 to e12 adapters to meet your different needs; Made of pure copper, safe and reliable, shell, copper screw shell

【Application】 – JACKYLED UL-listed 6 Pack E26/E27 to E12 light socket can be used to transforms your standard E12 bulb to fit in any E26 E27 fixture. They fit E12 bulb like LED and CFL bulb.

Color and amount: package includes 15 pieces adapters to meet your different needs; Made of pure copper, safe and reliable, shell, copper screw shell
Hang the Lamp

Place the lamp on the safety hook and verify it is secure. I check three things: the hook does not shift under weight, the cord has slack to swing slightly without pulling, and the globe hangs level. A few inches of cord slack is the detail most people skip, and it is the one that keeps the hook from loosening over time.
Eye level is the starting point for optimal light distribution, though I adjust based on placement. Over a table, I raise it enough that no one bumps the globe standing up. In a corner where the lamp reads as ambient light rather than task light, I drop it lower so the patterned glow lands on the walls, not the ceiling. The hook itself should be rated for more than the lamp’s actual weight; most Turkish lamps are lighter than they look, but the safety margin matters if you ever swap in a larger globe.
Recommended Products
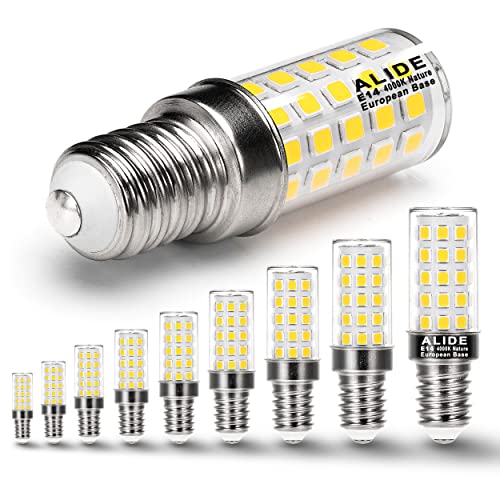
Not E12: This is European base E14 led candelabra bulbs, base diameter is 14mm, not e11,e12,e17,e26, please check your light fixture and confirm the right base before buy, if you need e12 led bulbs, we also have, please search in our store

Base Notice: This is E14 European base led candelabra bulbs, base diameter is 14mm, not e12, e11, e26, e17, please check your fixture and confirm the right base before buy, if you need e12 led bulbs, we also have, bulb's size is 0.65*2.28 inch
Test the Lamp

Once the wiring is tucked and the canopy sits flush, I flip the breaker and let the lamp run for a full hour before calling it done. The first time I skipped this step, a ceiling fixture I had just hung started flickering at minute forty. The wire nut on the neutral had backed off just enough to arc intermittently, and I only caught it because I happened to still be in the room. Now I check the socket housing and any exposed connections by hand at the fifteen-minute mark and again at the hour, feeling for warmth that would signal a loose joint or an overloaded socket. Turkish lamps with their metal cages and glass panels hold heat differently than open fixtures, so a warm socket reads normal while a hot spot at a connection does not. If anything feels more than mildly warm, I shut it down and reseat every nut before the glass goes on. A loose connection inside a closed shade has nowhere to dissipate heat, and that hour of patience costs less than a trip back up the ladder after the room is rearranged.
Recommended Products
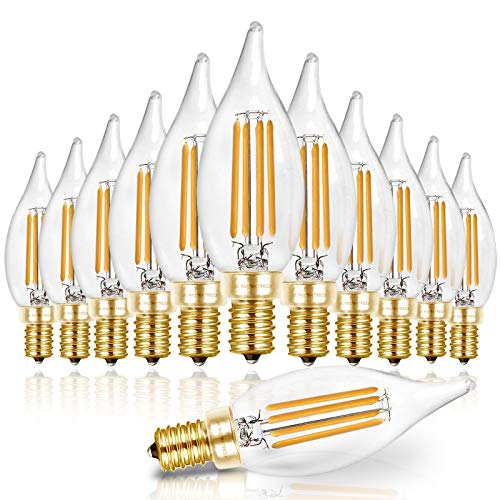
Soft Warm White: Offering warm and comfortable lighting at 2700K, these E12 LED candelabra bulbs feature a 90+ High CRI. Emitting a pleasing bright warm glow with crisp colors and no strobe, they accurately showcase the true colors of objects around you

Elegant Design with Premium Durability: The E12 LED candelabra bulbs, featuring a realistic flame-tip glass and an elegant gold E12 base, are a standout addition to chandeliers, wall sconces, and decorative fixtures. Combining beauty and functionality, they surpass generic incandescent bulbs in every way

Flexible Dimming: Smooth dimming for range 10%-100%(According to your dimmer performance) brings your soft white light and provide you any brightness as your preference without flicker and buzzing. Compatible with most new types of dimmers
What You Need

Most of what you need for a Turkish lamp install is already in a basic homeowner’s toolkit, though a few pieces are project-specific. I already keep wire nuts, electrical tape, a digital multimeter, and a wire stripper around for small fixes, so those cost me nothing extra. The E14 to E12 adapters and 4W low-wattage bulbs are non-negotiable buys, since Turkish sockets run European sizing and the glass panels sit close enough to standard bulbs that heat becomes a real concern. For the ceiling side, pick up a chandelier brace if your junction box is older or the lamp runs heavy, plus a ceiling hook rated for the weight. The wiring path needs 18 gauge electrical wire, wire conduit to keep it tidy across the ceiling or wall, and an electrical plug at the end. An extension cord fills the gap if your nearest outlet sits farther than the lamp’s lead allows.
Recommended Products

Use this tester to check for "hot" wires before you begin electrical work

SMART BUY: A complete, high-performance kit that offers convenience and value

Mr. Pen- non-contact detector determine the presence of magnetic field without contact
E14 or E12 Bulbs

Turkish lamps ship with E14 sockets, 14 mm wide, while standard American candelabra bulbs are E12, 12 mm across. That two-millimeter gap is just enough to let a US bulb sink too deep, short against the metal, and arc.
| E14 (European/Turkish) | E12 (US standard) | |
|---|---|---|
| Socket width | 14 mm | 12 mm |
| Bulb fit | Native to Turkish lamp | Too narrow; sits loose or too deep |
| Fix | Use as-is with E14 bulbs | Add E14-to-E12 adapter (~$1.50 each) |
I once forced an E12 bulb into an E14 socket with tape because the hardware store was closed. The bulb lasted three days and smelled like burning plastic. The adapter is cheaper than the replacement socket, and far cheaper than the fire department.
Recommended Products

🌞GREAT LOAD CAPACITY : Heavy duty canopy kit and pendant light fixture chain set are suitable for different styles of Light Fixtures. Solid metal with ancient ways finish. The sturdy distressed metal adds a rustic industrial feel to your home and ensures years of reliable performance.

Package includes: 6 feet oval chain, 2 connection locks, 5 Inches antique brass canopy kit with crossbar, mounting screws, threaded rod, and matching loop with screw collar

Package includes two 1/4 IP threaded pipe (1 1/2 Inch & 2 1/2 Inch), one 1/4F steel hex nut, two screws (1/2 Inch X 8/32), and heavy strong crossbar.
Wattage and Heat

Turkish lamp globes are enclosed glass with almost no ventilation, so the heat from the bulb has nowhere to go. A 4W bulb is the practical ceiling for most of these fixtures, not a conservative suggestion. Anything higher and the glass traps enough heat to stress the wiring over time.
The math on this is straightforward. Ohm’s Law divides watts by voltage to give amperage draw. On 120V American current, a single 4W bulb pulls 0.03 amps. Stack seven of those in a typical Turkish chandelier and the shared line still only draws about 0.21 amps total, well inside the safety margin for standard lamp cord. Swap in 25W or 40W bulbs and that same seven-bulb fixture jumps past 1.4 amps, pushing the cumulative load toward the wire’s rated limit. Handmade wiring, common in imported pieces, rarely leaves headroom for that.
Lower wattage also extends the life of the piece itself. Heat cycling cracks solder joints and degrades the adhesive holding mosaic tiles. I would still not leave even a properly-bulbed lamp running for extended periods unattended, particularly with older or hand-wired fixtures where you cannot verify the gauge behind the canopy. The 4W recommendation prevents the immediate fire hazard; the habit of treating these as accent lighting rather than room illumination covers the rest.
Frequently Asked Questions
What type of bulbs should I use for my Turkish lamp?
Use 4W LED bulbs as the safe maximum. Turkish lamp globes are small enclosed glass with almost no ventilation, so heat has nowhere to escape. A 4W LED still throws enough colored light to fill a corner, while anything higher risks melting the glass frosting or stressing the wiring over time.
How do I modify the wiring for a Turkish lamp?
Match wire colors and cap each pair with wire nuts, then wrap the nuts in electrical tape to keep them from backing off if the lamp sways. For extending or shortening the cord, use 18 gauge electrical wire; thinner wire heats up under load, and thicker wire fights to hide inside the chain. If you are renting or avoiding house wiring, add a plug and run extension wire to an outlet instead.
What safety precautions should I take when hanging a Turkish lamp?
Flip the breaker that feeds the ceiling box, then test the wires with a non-contact voltage tester anyway. Panel labels can be wrong, and the only confirmation that matters is at the box itself. After installation, run the lamp for a full hour before calling it done, checking connections by hand at fifteen minutes and again at sixty for any hot spots that signal a loose joint.
Leave a Reply